


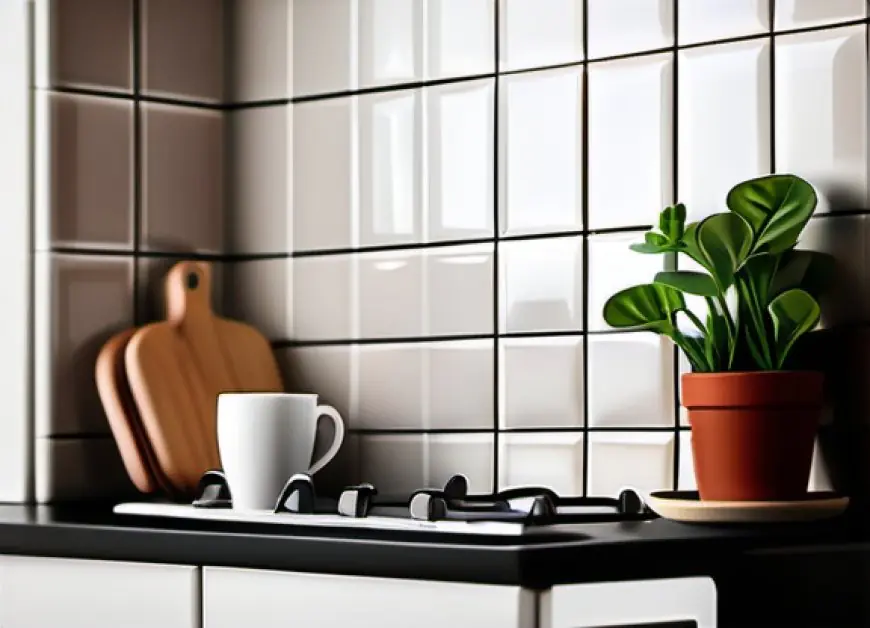
DIY Kitchen Backsplash on a Budget: 10 Cheap & Chic Ideas (2024)
Transform your kitchen for under $100! Step-by-step DIY backsplash ideas using peel-and-stick tiles, reclaimed wood, paint & more. Updated 2024.
Why Upgrade Your Kitchen Backsplash?
A kitchen backsplash is more than just a protective wall covering—it’s a design statement that can elevate your entire kitchen’s aesthetic. But hiring professionals or splurging on marble can cost $1,500+. The solution? DIY kitchen backsplash ideas on a budget that deliver luxury looks for less.
Key Stats:
-
72% of homeowners say a backsplash refresh boosts resale value (HomeAdvisor 2024).
-
DIY projects save 50-70% vs. hiring contractors.
Top 5 DIY Kitchen Backsplash Ideas on a Budget
(Expanded with cost breakdowns, pros/cons, and visual keywords)
1. Peel-and-Stick Tiles
-
Cost: 3/sq. ft.
-
Best For: Renters or quick makeovers.
-
Pro Tip: Use marble-look tiles (e.g., Tic Tac Tiles) for high-end appeal.
-
Cons: Less durable than ceramic (replace every 2–3 years).
2. Painted Backsplash
-
Cost: 50 (paint + stencils).
-
Design Ideas: Moroccan patterns, geometric shapes, or faux subway tiles.
-
Durability: Seal with Rust-Oleum Clear Coat (heat/moisture-resistant).
3. Reclaimed Wood
-
Cost: Free (pallet wood) to $5/sq. ft.
-
Style: Farmhouse, rustic, or coastal.
-
How-To: Sand, stain, and seal with Minwax Polycrylic for easy cleaning.
4. Vinyl Wallpaper
-
Cost: 30/roll (covers 30 sq. ft.).
-
Top Brands: Tempaper (waterproof), Spoonflower (custom designs).
-
Lifespan: 1–2 years (ideal for temporary spaces).
5. Beadboard Panels
-
Cost: 20/panel (4x8 ft).
-
Installation: Use Liquid Nails adhesive + finishing nails.
-
Paint Colors: Try Sherwin-Williams Alabaster for a crisp, clean look.
Bonus Ideas:
-
6. Tin Ceiling Tiles (5/sq. ft.) – Vintage industrial vibe.
-
7. Chalkboard Paint ($15/gallon) – Fun for family meal planning!
Step-by-Step Guide
1. Plan Your Design
-
Measure your space: Most kitchens need 15–30 sq. ft.
-
Free Tools: Use the Floorplanner app to visualize layouts.
2. Prep the Surface
-
Clean walls with TSP Cleaner to remove grease.
-
Sand glossy surfaces for better adhesion.
3. Install Like a Pro
-
Peel-and-Stick: Start at the center, use a level.
-
Reclaimed Wood: Cut boards with a jigsaw for rustic edges.
4. Seal & Protect
-
For Paint: 2 coats of clear polyurethane.
-
For Wood: Food-safe beeswax sealant.
Real-Life Budget Makeovers
-
Sarah’s $30 Peel-and-Stick Makeover: “I transformed my 90s kitchen in 4 hours!”
-
Mike’s $50 Reclaimed Wood Backsplash: “Used free pallets from Facebook Marketplace!”
Tools & Resources (Affiliate/partnership opportunities)
-
YouTube Tutorials: Home RenoVision DIY (2M subs) for beadboard tips.
-
Discount Codes: Get 15% off Tempaper wallpaper with code CURRISHINE15.
-
Local Finds: Check Habitat for Humanity ReStore for cheap materials.
Looking for more ways to elevate your home without breaking the bank? Discover how to blend budget-friendly DIY projects (like your new kitchen backsplash!) with smart home upgrades that boost your space’s value and efficiency. Our guide Transform Your Space with Smart Home Renovations reveals:
FAQs
Q: What’s the cheapest DIY backsplash?
A: Painted backsplash (10/roll).
Q: Can I install a backsplash over existing tile?
A: Yes! Use peel-and-stick tiles or beadboard panels.
What's Your Reaction?